Raspberry Pi I2C 4×4 matrix keypad with MCP23017 and Python
Touch screens are great. Keyboards are often necessary. But what if all you need is a numeric keypad?
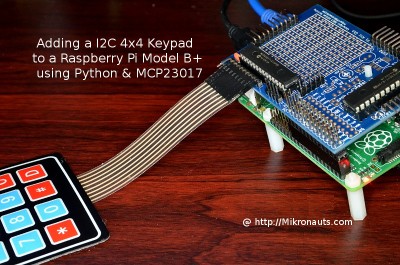
Of course you could use a USB numeric keypad, however that will use up a valuable (and only on a Raspberry Pi Model A or A+) USB host port.
(click on image for larger version)
For a lot of my projects, all I really need is a simple 4×4 keypad
(and it keeps fingerprints off my screens!)
Hardware
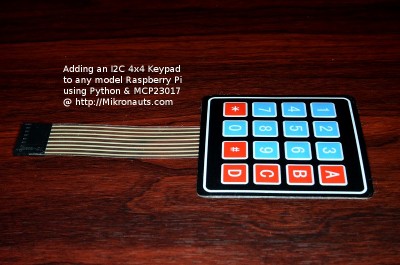
I used an inexpensive readily available 4×4 matrix keypad that you can buy pretty much anywhere. A 3×4 12 key keypad would also work, but I like having the extra four buttons for navigating menus.
(click on image for larger version)
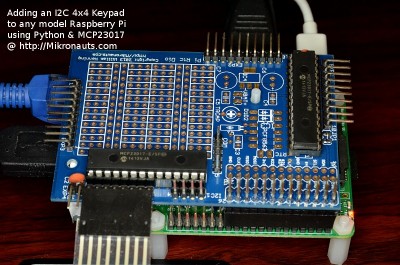
I decided to use my Pi Rtc Dio board with right angle male headers for a very simple reason – I wanted to save time.
As the MCP23017’s use very little power, I did not populate the 3.3v power supply section, I just used the Pi’s 3.3v. I also did not populate the RTC (Real Time Clock) section at this time.
I did not have to cut any wires, I could just plug the keypad directly into one of the I/O headers!
I configured four pins on GPIO B for output, and four pins for input – and I enabled the pull up resistors for the four input pins so I would not have to add external pull ups.
(click on image for larger version)
Having connected the keypad, I wrote a Python class to make it extremely easy to use for my projects. How easy?
I am glad you asked… here is a simple demo program that prints what button you push until you press ‘D’, which exits!
#!/usr/bin/python

import keypad16 as matrix

kb = matrix.keypad_module(0x27,1,0)

while 1:
  ch = kb.getch()
  print ch

  if ch == 'D':
    exit()
I know, it is an over-used expression… but still… Easy as Pie!
Now before you can run the above demo program, you have to enable I2C on your Raspberry Pi (if it is not already enabled)
Enabling I2C on the Raspberry Pi
In case you have not already enabled I2C on your Raspberry Pi, it is pretty easy.
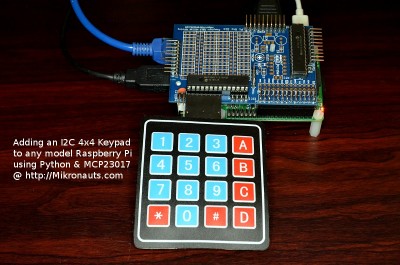
(upside down keypad – click on image for larger version)
You will need to open a terminal to set up your Raspberry Pi for I2C.
You can use any text mode editor you are familiar with – ‘vi’, ‘nano’ and ‘joe’ are popular choices.
First, edit
/etc/modprobe.d/raspi-blacklist.conf
Make sure there is a ‘#’ in front of the line that references i2c-bcm2708, so it looks like:
#blacklist i2c-bcm2708
If you intend to use SPI, also place a ‘#’ in front of the line that references spi-bcm2708:
#blacklist i2c-bcm2708
Next, edit
/etc/modules
If there is not a line containing ‘i2c-dev’, add a new line at the end
i2c-dev
Finally, you will need to get the i2c-tools package
sudo apt-get install i2c-tools
Then reboot.
Open a terminal, and
sudo i2cdetect -y 1
will show you the I2C devices on your rev.2 Raspberry Pi.
Use ‘-y 0’ instead of ‘-y 1’ if you have a rev.1 Pi.
MCP23017’s will show up at addresses 0x20-0x27 depending on how the A0-A2 address lines on the chips are configured.
Pages: 1 2


