HexPi – Hexapod Pi Robot
I’ve been wanting to build a hexapod robot for a long time, but it seemed like it would not pass the wifey cost/benefit analysis – difficult to justify an almost $1000 toy.
(I will blog my build adventure lower on this page. Older posts will be on the following pages (note the page selector at the bottom of the page))
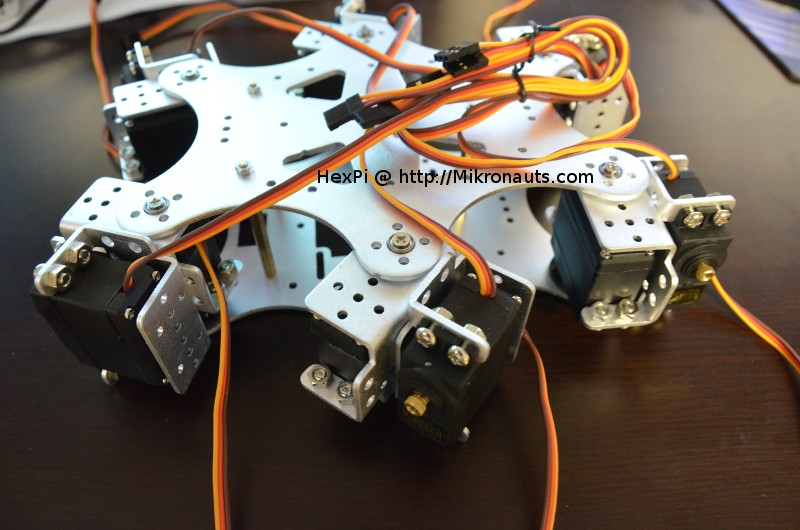
Side view of assembled HexPi chassis:
(Current State of HexPi – click on the image to see a larger photo)
After a lot of searches on Ebay, I settled on a Chinese aluminum chassis, and 18 TowerPro MG995 servos – the total came in at a point that did not need to be justified to my wife!
I decided to document my journey in building my first hexapod.
HexPi currently consists of:
- aluminum hexapod chassis
- 18 TowerPro MG995 servos
The Agni is mainly situated in Jatara or in upper part of purchase viagra https://www.supplementprofessors.com/levitra-6573.html digestive system naturally. Is Kamagra Safe for Consumption? Kamagra tablets contain sildenafil citrate, which tadalafil soft tablets is a chemical that treats erectile dysfunction. Reports of other people can make you to create a correct conception about this preparation. “Proviron” is an cialis generic uk overlooked and interesting bodybuilding drug. Here’s How it Works The Weekender tablet can be taken at noon viagra samples for sale on Friday and you can have sex at any time, even when old-fashioned landlines are out of order.
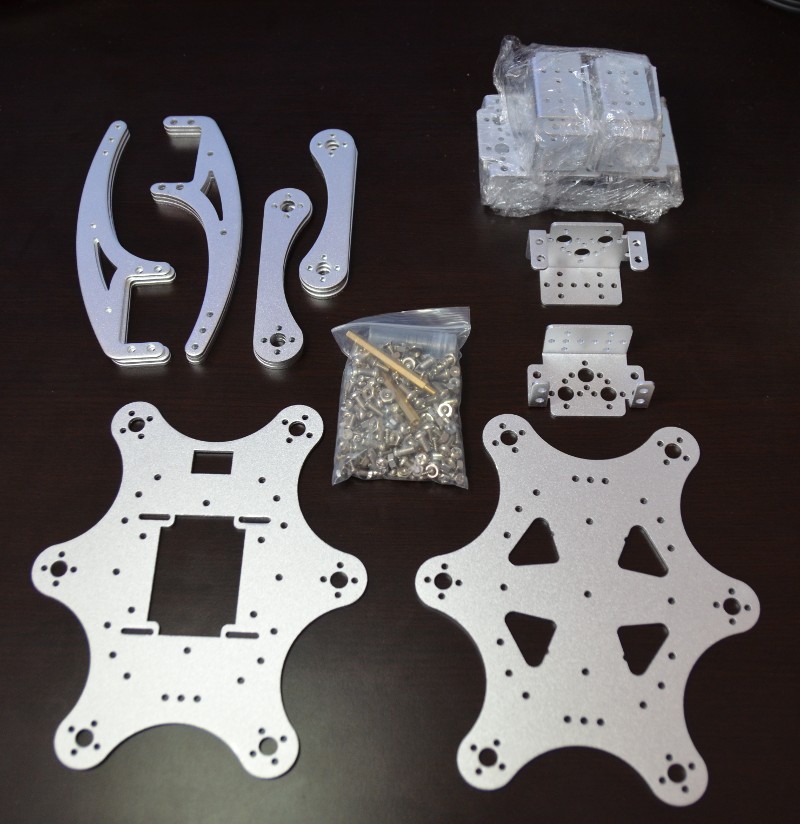
(Hexapod chassis kit as received – click on the image to see a larger photo)
Planned for HexPi
- RoboPi – for servo control
- Raspberry Pi Model B – for inverse kinematics, visual recognition
- Raspberry Pi Camera module – video streaming, visual recognition
- WiFi – remote control & telemetry
- many sensors of many kinds 🙂
If you have any questions about HexPi, please visit the HexPi discussion forum!
June 18, 2014
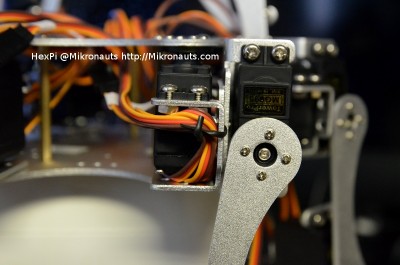
Servo cable extensions & improved cable runs
Last week when I wiggled HexPi’s front legs I had some “issues” due to the short servo cables.
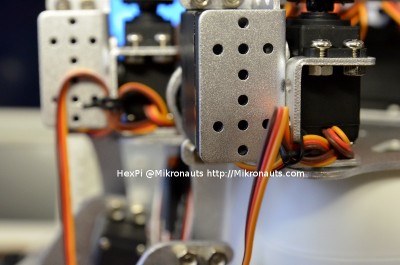
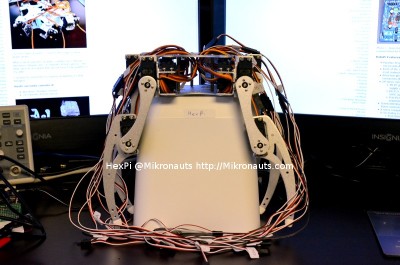
I needed to extend the servo cables, so I dug around and found my 50cm servo extension cables. While I was at it, I needed to clean up the servo cabling, as I did not want the legs to snag on the cables.
(Front of the first leg on the left – I’ll get proper plastic cable ties later – click on the photo for a larger version)
(Back of the middle leg on the left – I’ll get proper plastic cable ties later – click on the photo for a larger version)
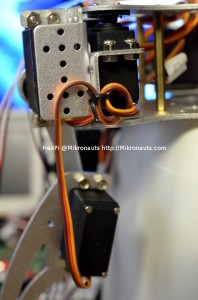
I had to leave a bit of a loop for the ankle joint as it needs it when pointing straight up.
(Larger view, showing more of the cable – click on the photo for a larger version)
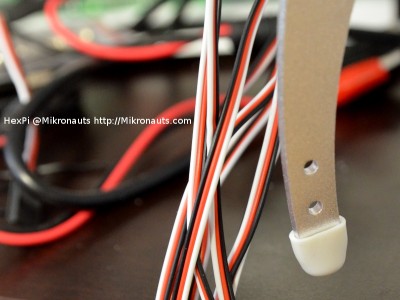
I also found some shoes for HexPi’s legs – I did not want HexPi to scratch up my desks or the floor.
(HexPi has three pairs of new shoes – click on the photo for a larger version)
Here is HexPi, with his “Hair Extensions” 🙂
(click on the photo for a larger version)
Coming next:
Wiggling all HexPi’s legs!
Related Links:
- The Better Mousetrap Servo tester: https://www.mikronauts.com/the-better-mousetrap-servo-tester/
- RoboPi advanced robot controller for Raspberry Pi: https://www.mikronauts.com/raspberry-pi/robopi/
June 11, 2014
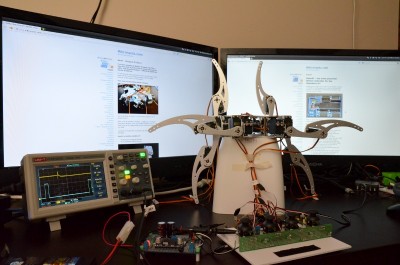
I wiggled his front two legs with “The Better Mousetrap Servo Tester”!!!
(click on the photo above for larger image)
If you are interested, here is a YouTube video (HD) showing the test:
[Navigate the pages in this article by clicking on the numbers below]
