Banana Pro Review
Pi Jumper
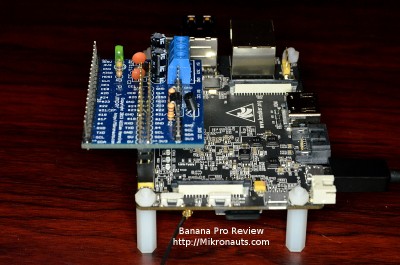
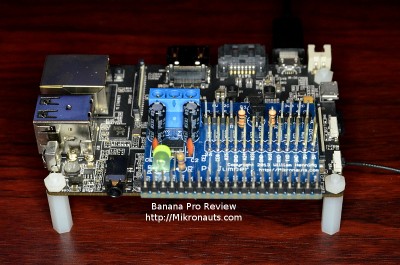
Pi Jumper just worked. Mind you, as Pi Jumper only has a 26 pin connector, it can only utilize the pins found on the first 26 GPIO’s.
(click on image for larger version)
(click on image for larger version)
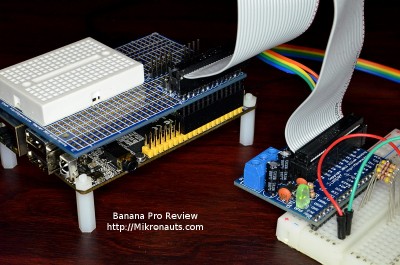
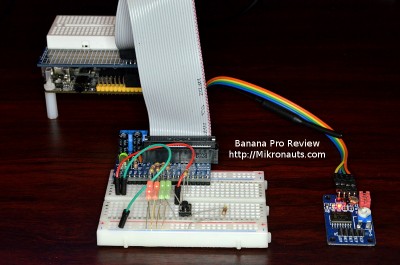
Pi Jumper Plus comes with a ribbon cable, which does not plug directly into the 40 pin GPIO header on the Banana Pro.
(click on image for larger version)
This is not much of an issue, as simply adding a 26 pin stacking header (or a board with a 26 pin stacking header) allows the IDC connector to be attached without any issue.
(click on image for larger version)
EZasPi
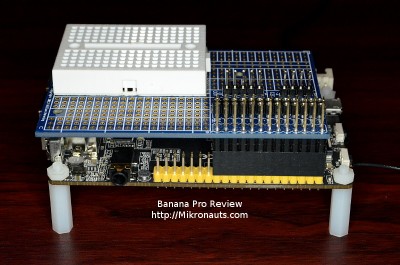
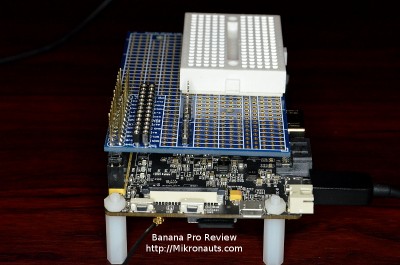
I plugged in an EZasPi configured with a small solderless breadboard, and it was immediately ready to use 🙂
(click on image for larger version)
The mounting holes do not line up, but it is quite usable in its current state with the Banana Pro.
(click on image for larger version)
I’d suggest adding some electrical tape as shown in the RoboPi photos above.
WiFi Configuration
The Banana Pro comes with an AP6210 based WiFi module on-board, and an external antenna, so I saw no point in testing USB WiFi adapters on it.
To use the on-board WiFi, open a terminal window and type
sudo modprobe ap6210
to add the WiFi driver, then use WiFi Config (the icon is on the left hand side of your desktop) to connect to your WiFi network.
To enable WiFi every time you boot, edit /etc/modules to add ‘ap6210’ at the end.
Review Index
Page 1: Introduction, Does it look the same?
Page 2: Closer Look at the Banana Pro
Page 3: Feature Comparison, Operating Systems
Page 4: Software Compatibility
Page 5: WiringPi, RPi.GPIO, Hardware Compatibility
Page 6: More hardware compatibility, WiFi Configuration
Page 7: Documentation, Benchmarks
Page 8: Power Utilization, Support, Conclusion

