Raspberry Pi 2 with HannStar 10.1″ TFT LCD & HDMI Adapter Review
HDMI Adapter Board
(click on image for larger version)
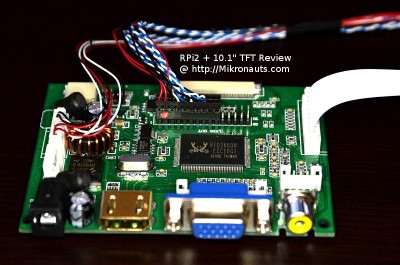
Here is a photo of the HDMI adapter that came in the kit with the HannStar HSD101PWW1 LCD.
From left to right:
- 5V* to 12V input – note not all boards will function at 5V
- HDMI input
- VGA input
- Video input
On top, you can see the LVDS cable that goes to the LCD panel.
On the right you can see the keypad connector.
Between the keypad and video connectors is another connector, which has a second video input.
I suggest you do not let the power cable get as close to the coil as shown above, as it caused the board to turn off for me.
I ended up using some masking tape to keep the power leads away from the inductor.
It is a very common adapter, you can find it at Adafruit, Ebay, and about a zillion web stores.
(click on image for larger version)
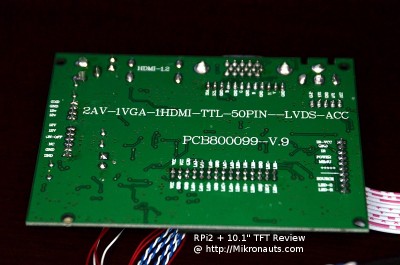
As you can see above, this perticular board was labeled as a “PCB800099-V.9” with a Realtek RTD2660H controller. Interestingly enough, the 2660 is not supposed to have HDMI, but it works… theoretically a 2662 is needed for HDMI support.
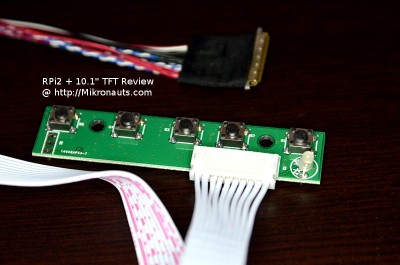
The remote control, and keypad, allow you to select the input (it auto-selected HDMI with the Pi) and adjust contrast, brightness, hue.
(click on image for larger version)
The three holes on the left hand side of the photo above are for a standard IR receiver.
I plan to install one to see if the remote control I received with my 4.3″ display with HDMI adapter from another vendor will work with this board. I am certain it will, and I will update this review with the results.
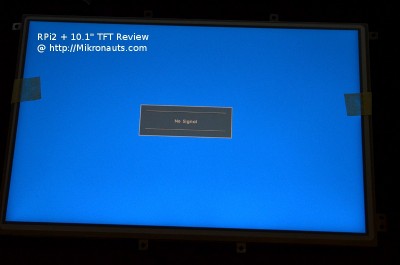
I fired up the display before connecting it to my RPi2 testbed:
(click on image for larger version)
Time to take off the screen protector, masking tape, connect it to my RPi2…
It worked right away.
No muss, no fuss. No need to mess with /boot/config.txt hdmi settings.
Just a gorgeous 1280×800 razor sharp display, out of the box.
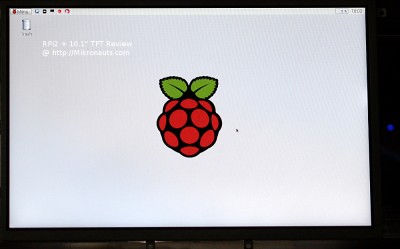
Raspberry Pi 2 Desktop
(click on image for larger version)
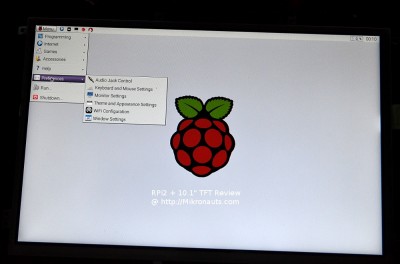
These photos do NOT do justice to the display. Photographing LCD displays is tricky as you are actually dealing with three unique resolutions:
- the TFT panel resolution (1280×800)
- the camera sensor resolution (16Mpix in my case)
- your monitors resolution
To make it worse, as the photos cannot be lined up exactly, there is no way to get a full frame pixel perfect shot.
On top of all that… the images are re-sized for the web, in my case to 1000 pixel wide images, with 400 pixel wide versions in-line with the text.
Basically, there is no way to show how gorgeous this display is, and that is a pity, because the desktop is absolutely gorgeous on this display.
(click on image for larger version)
The menus look great as well.
