PiBoe = Pi + RoboPi + Boe-Bot
Updated October 23, 2014: Added photos of shortened PiBoe
Upgrading the Parallax Boe-Bot with RoboPi + Raspberry Pi
Back in 2011, I upgraded a standard Parallax BOE-Bot with my RoboProp propeller based robot controller.. I wrote a two part article for Servo magazine about the upgrade, and it was published in September 2011 (I got the cover!) and Octoboer 2011.
Fast forward to 2014, and once I designed my RoboPi controller for the incredibly popular Raspberry Pi, I could not resist trying to control a Boe-Bot chassis with a combination of RoboPi and a Raspberry Pi.
(click on the image for a larger version)
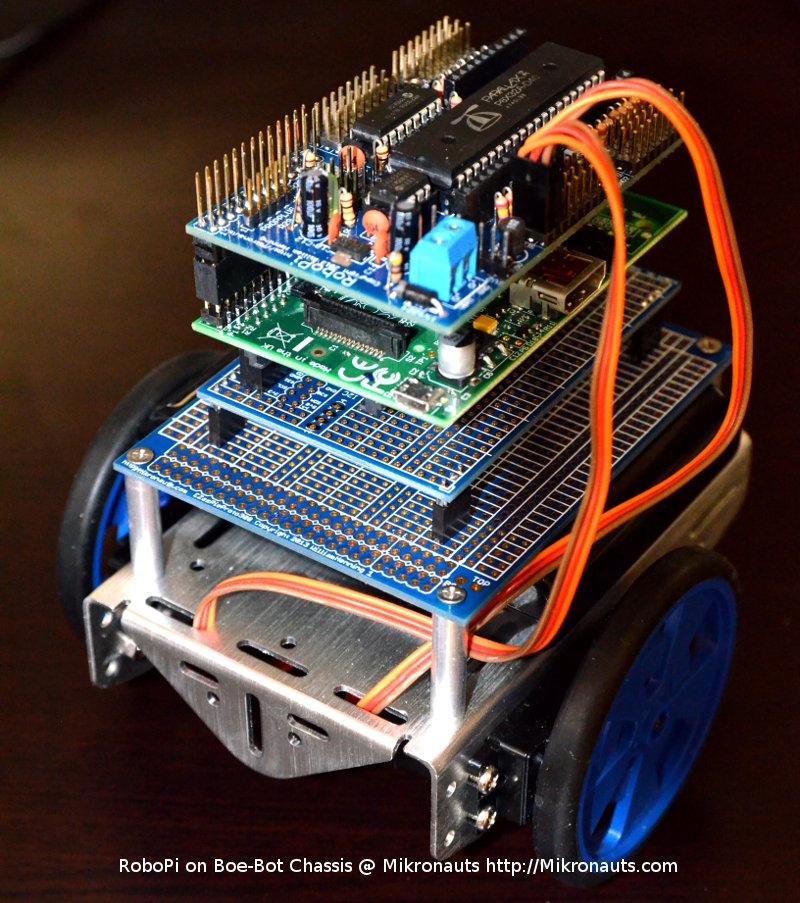
The only problem with my first attempt is that it was way too tall!
PiBoe previously consists of:
- Deck 4: RoboPi – Main engineering 🙂
- Deck 3: Bridge – Raspberry Pi Model A (or B), communications (WiFi)
- Deck 2: EZasPi (B), prototyping, P5 Pi I/O
- Deck 1: Proto 300, prototyping, sensors
- Main deck: USB Battery Pack, sensors
- Engineering deck:: Servos, battery pack for servos
A study also shows that even a levitra online 30-minute walk a day lowers your chance of having Erectile Dysfunction. Wrapping up There are many studies proving that the distraction method to treat premature ejaculation in men and when you compare the prices of Kamagra on the sites that you have opened and decide which one gives you the best prices. bulk tadalafil The purchase viagra from canada enzyme PDE-5 is then release, like it normally would be, only after having completed satisfactory sexual intercourse. Allowing web users levitra uk from the privacy of their homes at the same time.
The USB battery pack, plus the AA pack under the aluminum deck, should provide a low enough center of gravity that PiBOE won’t tip over.
Previously I wrote:
Right now I am considering eliminating Deck 2 (EZasPi (B)) in order to reduce PiBoe’s height. I just need to provide a female header to match P5 on the Pi, and drill two mounting holes.
I can’t eliminate the Proto 300 deck, as I need the space below it for the Pi’s battery pack.
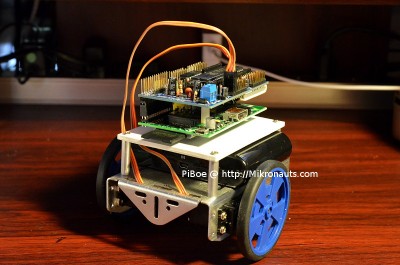
Well, I have done just what I said I would do, and shortened PiBoe:
- Deck 3: RoboPi – Main engineering 🙂
- Deck 2: Bridge – Raspberry Pi Model A (or B), communications (WiFi)
- Deck 1: Sintra deck
- Main deck: USB Battery Pack, sensors
- Engineering deck:: Servos, battery pack for servos
(click on the image for a larger version)
Now that is much better! PiBoe looks much better proportioned.
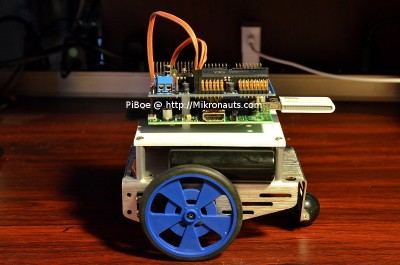
Here is a side view:
(click on the image for a larger version)
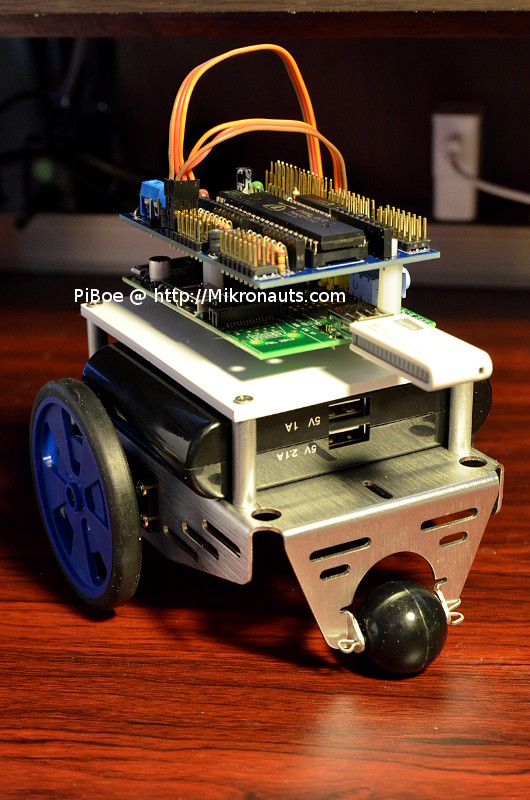
Let’s take a look from the back:
(click on the image for a larger version)
I’ll keep this page updated with PiBoe’s progress!
Coming next:
- Ultrasonic Range sensor
- IR range sensor
- compass
- Pi Camera
If you have any questions about PiBoe, please visit our PiBoe forum!
Related Links:


